Basic Equipment for Freeride Skiing
Clothes, skiing gear & protective equipment
"If you want to enjoy while skiing, good equipment that fits you and your needs is essential."
In the previous article, I roughly touched the equipment. So now we already know the basics and are ready for a more detailed explanation of all the basic equipment that you’ll need if you have a plan to start with freeride skiing more seriously.
The equipment can be divided into 3 basic groups: clothes, skiing gear, and protective equipment. All the equipment can also be divided by price or price/performance groups. Let’s say basic, intermediate, and advanced.
1. CLOTHES
It is essential that we are wearing certain clothing layers in certain situations. More about the clothing concept can be read here.
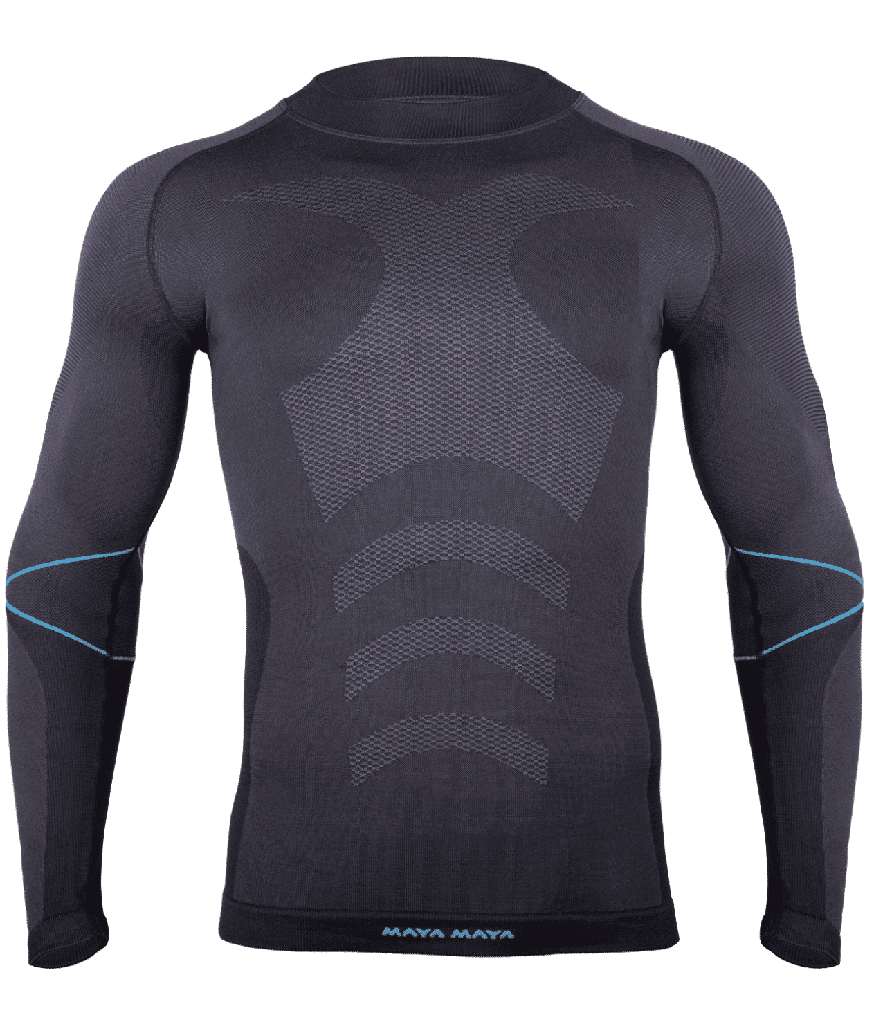
BASE-LAYER
Clothes that are closest to your body belong in the base-layer category: socks, long-sleeve thermal top, and thermal leggings. In general, clothes that fit tightly to your body. Its purpose is to wick away moisture. Synthetics like nylon and polyester are good at keeping the moisture off of your skin. An alternative is also a popular option of merino wool, which has more or less similar characteristics as well-developed synthetics. Cotton is a no go. It absorbs sweat and therefore becomes cold when wet. Consequently, we’re cooling down faster.
Socks – It’s best to wear one pair of thick socks, rather than layering them on. This way, you’re less likely to get weird lumps in your socks which aren’t only painful during the day but can really affect your skiing technique. Also, ensure they are long enough to come above your boot so that you don’t get any uncomfortable rubbing.
Long-sleeve thermal top – A form-fitting top will keep you warm and allow for mobility as well. The choice of material is left to you, depending on what is best suited to you.
Thermal leggings – Again, similar to your top, you want a fitted pair of leggings in a breathable fabric. Usually, you can purchase a matching pair of top & bottoms. Also, don’t forget to tuck in your top to your bottoms. If you take a tumble, the last thing you want is snow sneaking up and into your waist.
MID-LAYER
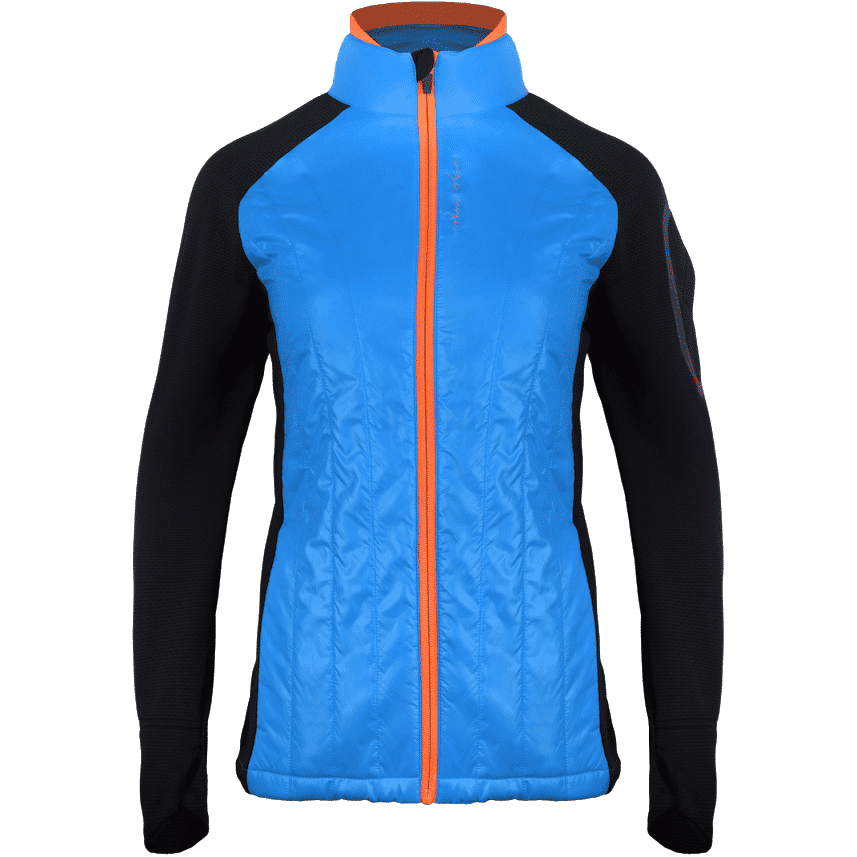
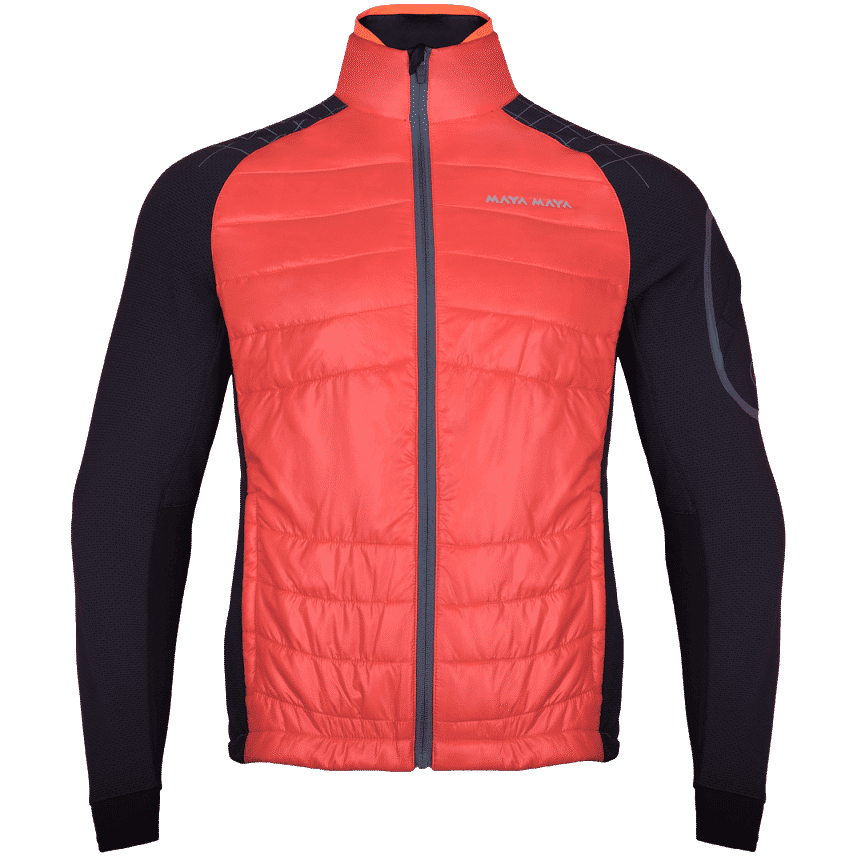
The purpose of the mid-layer is to keep us warm. The number of layers depends on our activity and surrounding temperature. Usually, only one layer is sufficient for skiing. Then depending on the cold, we add layers. Fleece jacket, light down jacket. Normally, we skip a mid-layer on our legs. Our legs naturally stay quite warm, doing lots of hard work on the slopes.
Long-sleeve mid-layer – This layer should keep your heat trapped close to your body. The most common material for mid-layers is fleece. We like one that zips, so we can un-zip and easily cool down.
Light down/Primaloft jacket – It can be used as a first mid layer just over the base layer, or if it’s really cold as a second mid-layer over the fleece. They can usually be packed in a small pocket so they take very little space in the backpack.
OUTER LAYERS
The most important part of your outer layer is that it’s totally waterproof and windproof. Gore-tex is now widely used and is part of most ski gear, if not other waterproof technology.
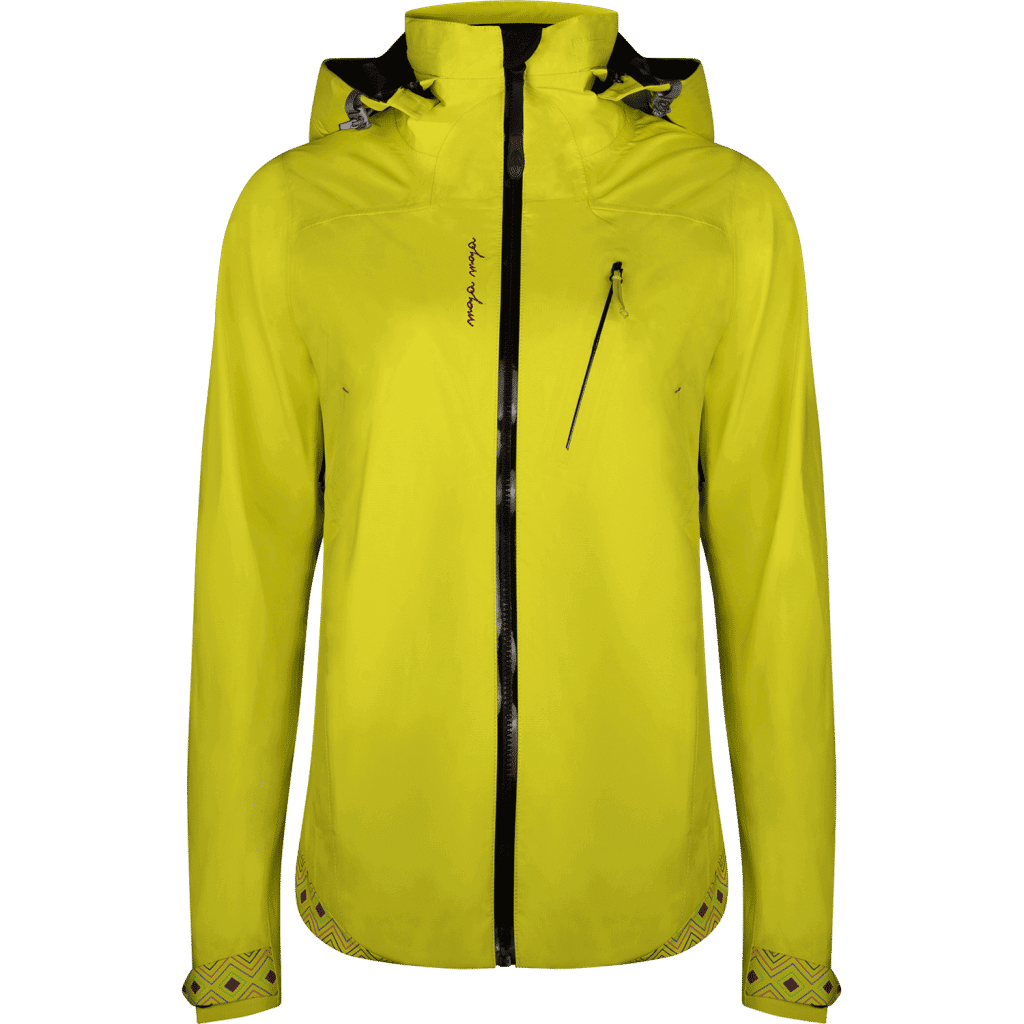
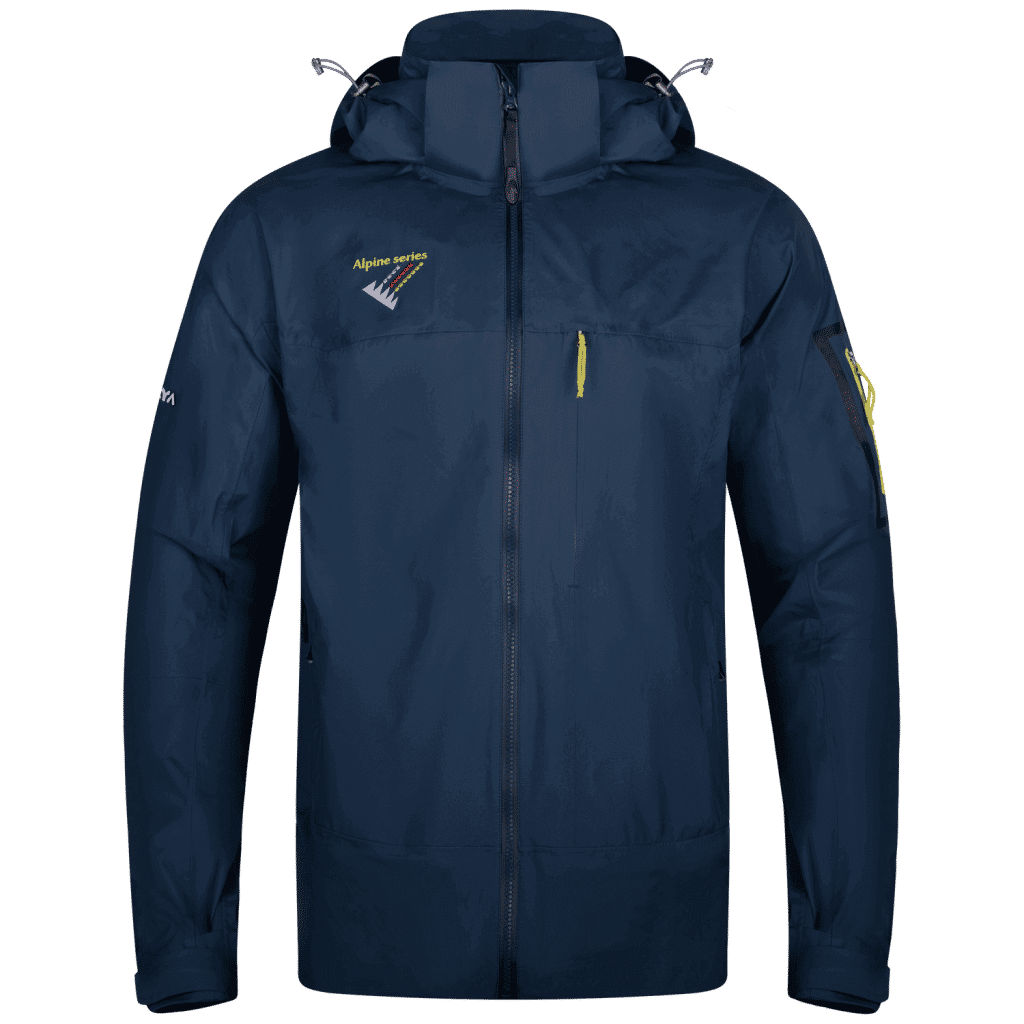
Jacket – A ski jacket is an important outer layer as it will help to retain the heat that your other two layers provide. Thanks to amazing ski gear technology, you can find a super lightweight and breathable waterproof and windproof shell jacket for a reasonable price. There are a lot of manufacturers on the market so you can choose what suits you best. Again, there are jacket options with insulation as well. Most ski jackets these days should include ample zippered pockets for phones, piste maps, lip balm, and a few mini chocolates. Prices start at around 250 € and go all the way up to 800 and more.
Pants – This is kind of a big deal when you are out in the cold the whole day. Look for those with zippers along the inside or outside of the leg. When you get a little warmer this is a huge perk. There are some that are just a shell and others with insulation – choose what is best for your body temperature, and the time of year you’ll be skiing. Remember, you can always add layers.
Gloves – Nobody enjoys wet and cold gloves. This is why a good pair of gloves is essential to keep your hands warm and dry. Invest in some high-quality gloves or mittens that are comfy and fit well. There are various options available, leather gloves, gore-tex gloves, temperature range, etc.
Extra gear– Extra accessories like buff keeps your neck and face warm in colder days and protects you against the wind. These vary from thin cotton or merino wool to thick fleece, so you can choose one that’s appropriate for you and the weather. Furthermore, you never know when you will need some extra gloves, so make sure to bring some with you.
2. SKIING EQUIPMENT
If you want to enjoy while skiing, good equipment that fits you and your needs is essential. Skis, ski bindings, boots, and poles. There are written and unwritten rules for everything.
SKIS
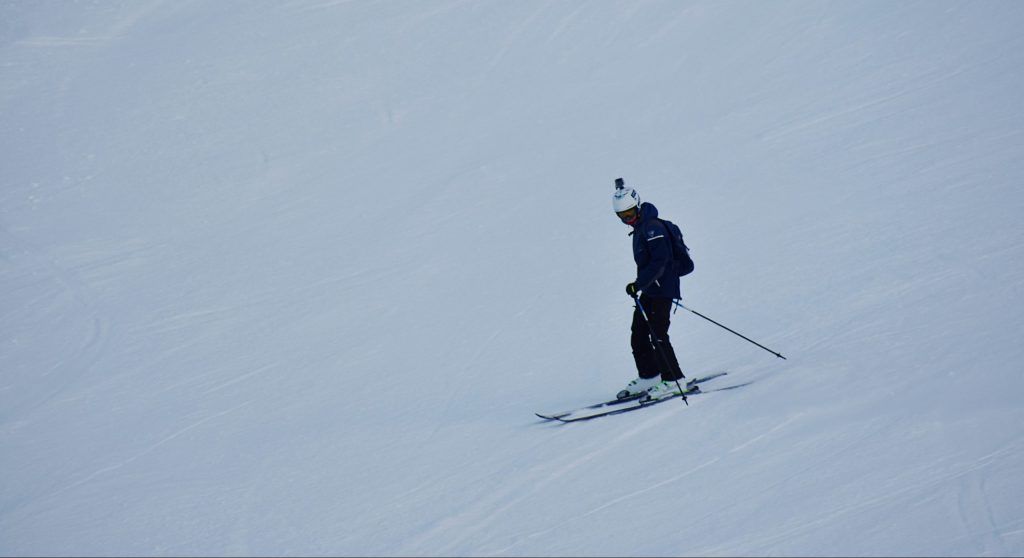
Expert skiers such as ski instructors, ski guides, professional riders, or professional racers should know the best what kind and length of the ski is most suitable for them. We will assume you are a good skier on piste but more or less a beginner in freeride. When choosing your first freeride skis don’t go bigger is better in the first second. It’s better to go on shorter skis at first.
Shorter ski:
– you prefer to ski slower and short turns
– you do not consider yourself an advanced or expert rider
– you would like to have skis with very little or no rocker, only camber
Longer ski:
– you like to ride fast and make long and aggressive turns
– you consider riding skis with a twin tip
– you would like to purchase skis with rocker
SKI BOOTS
The key link between your body and your skis, so finding boots well-matched to the size and shape of your feet is a high priority. When buying ski boots, if possible go to a professional shop where they have experience and will advise you correctly. About the proper size, flex, width. Don’t buy boots that are too small, your toes will get cold really fast. Too big is not an option either, your foot won’t be fixed inside and you will lack control. Match your flex index to your skiing level. Too soft or too stiff, you will lack control. Softer ski boots are more comfortable and the opposite for stiffer.
SKI BINDINGS (ALPINE, TECH BINDINGS, AND AT BINDINGS)
When choosing a ski binding you first need to decide for what purpose you will need them. Alpine binding is useful just for downhill while the other two options are also meant for uphill. AT binding is the touring binding that’s the most popular in resorts and the one you’ll see often on alpine skis. They fit with the majority of the touring ski boots. The weakness of these bindings is their weight. You’ll have to carry at least 1600g for a pair and that number can increase pretty fast depending on models. Tech bindings are the most useful ones. They can be super light and still extremely durable and reliable on a downhill. But you need a pin-toe ski boot for those.
SKINS
Without this your touring bindings are useless. When you’re buying them make sure you take the right length. Then we have the details such as grip, gliding, friction, weight…
POLES
There is nothing special here that would need a detailed description. We know ordinary, folding, and telescopic ski poles. Usually, they are made out of aluminum and more expensive models from carbon fibers of both. One part from aluminum and other from carbon. Tip for choosing the right length: angle in elbow must be 90° when standing straight.
3. PROTECTIVE EQUIPMENT
At the end of the day, the most important thing is to come home alive and with no injuries. This is where protective equipment comes in.
AVALANCHE EQUIPMENT
Avalanche transceiver, shovel, and probe are commonly accepted as the basic triptych of any freerider. You should know that, after being buried for more than 15 minutes, the chances of survival decrease dramatically.
The avalanche transceiver: The principle is simple: worn under clothing, the avalanche transceiver must always be on and in transmitter-mode. Whatever the brand or model (e.g. RECCO), all avalanche transceivers communicate with each other via signals on the 457kHz frequency. While they might be easy to use, some previous practice is necessary as the panic of an accident makes them more difficult to manage.
The probe: When the shortest distance with the transceiver has been reached, the sounding begins. The sensor must always be planted perpendicular to the surface of the snow. Once the victim is localized, the probe will become a valuable reference point.
The shovel: Shoveling is the crucial phase of an avalanche rescue. Regarding the choice of the snow shovel, aim for a rigid metal one rather than a light one. The extra weight we will avoid might also imply a lack of strength at the time of shoveling.
AVALANCHE BACKPACK
More and more used, the ABS backpack is a safety accessory that strongly complements the essential trio presented above. This avalanche airbag enhances the chances of survival by minimizing avalanche burial. Today there are many producers with different types of technologies but the principle and the purpose is the same with all. Inflate the balloon which will protect you against burial and injuries. Despite the balloon, it is always an option of complete burial.
HELMET AND BACK PROTECTOR
Being well-equipped means not only to have all the emergency equipment in case of an avalanche. It is also to be protected to minimize the risk of injury. Many still go freeriding without shock protection. Freeride ski and snowboard hide many dangers. Wearing a helmet is highly recommended and you can also add a back to minimize injuries. A good helmet that will absorb the shock can be a lifesaver.
GOGGLES
Good protection for the eyes is important. It protects your eyes against the sun and snow. Choose the model that fits on your head and is compatible with the helmet.
This is all the equipment for basic freeride skiing. For more serious ascent and descent, you will also need some technical gear.
Latest guides

THE HEAT: Part 3
THE HEAT: Part 2
THE HEAT: Part 1
Thermal balance: what it means?
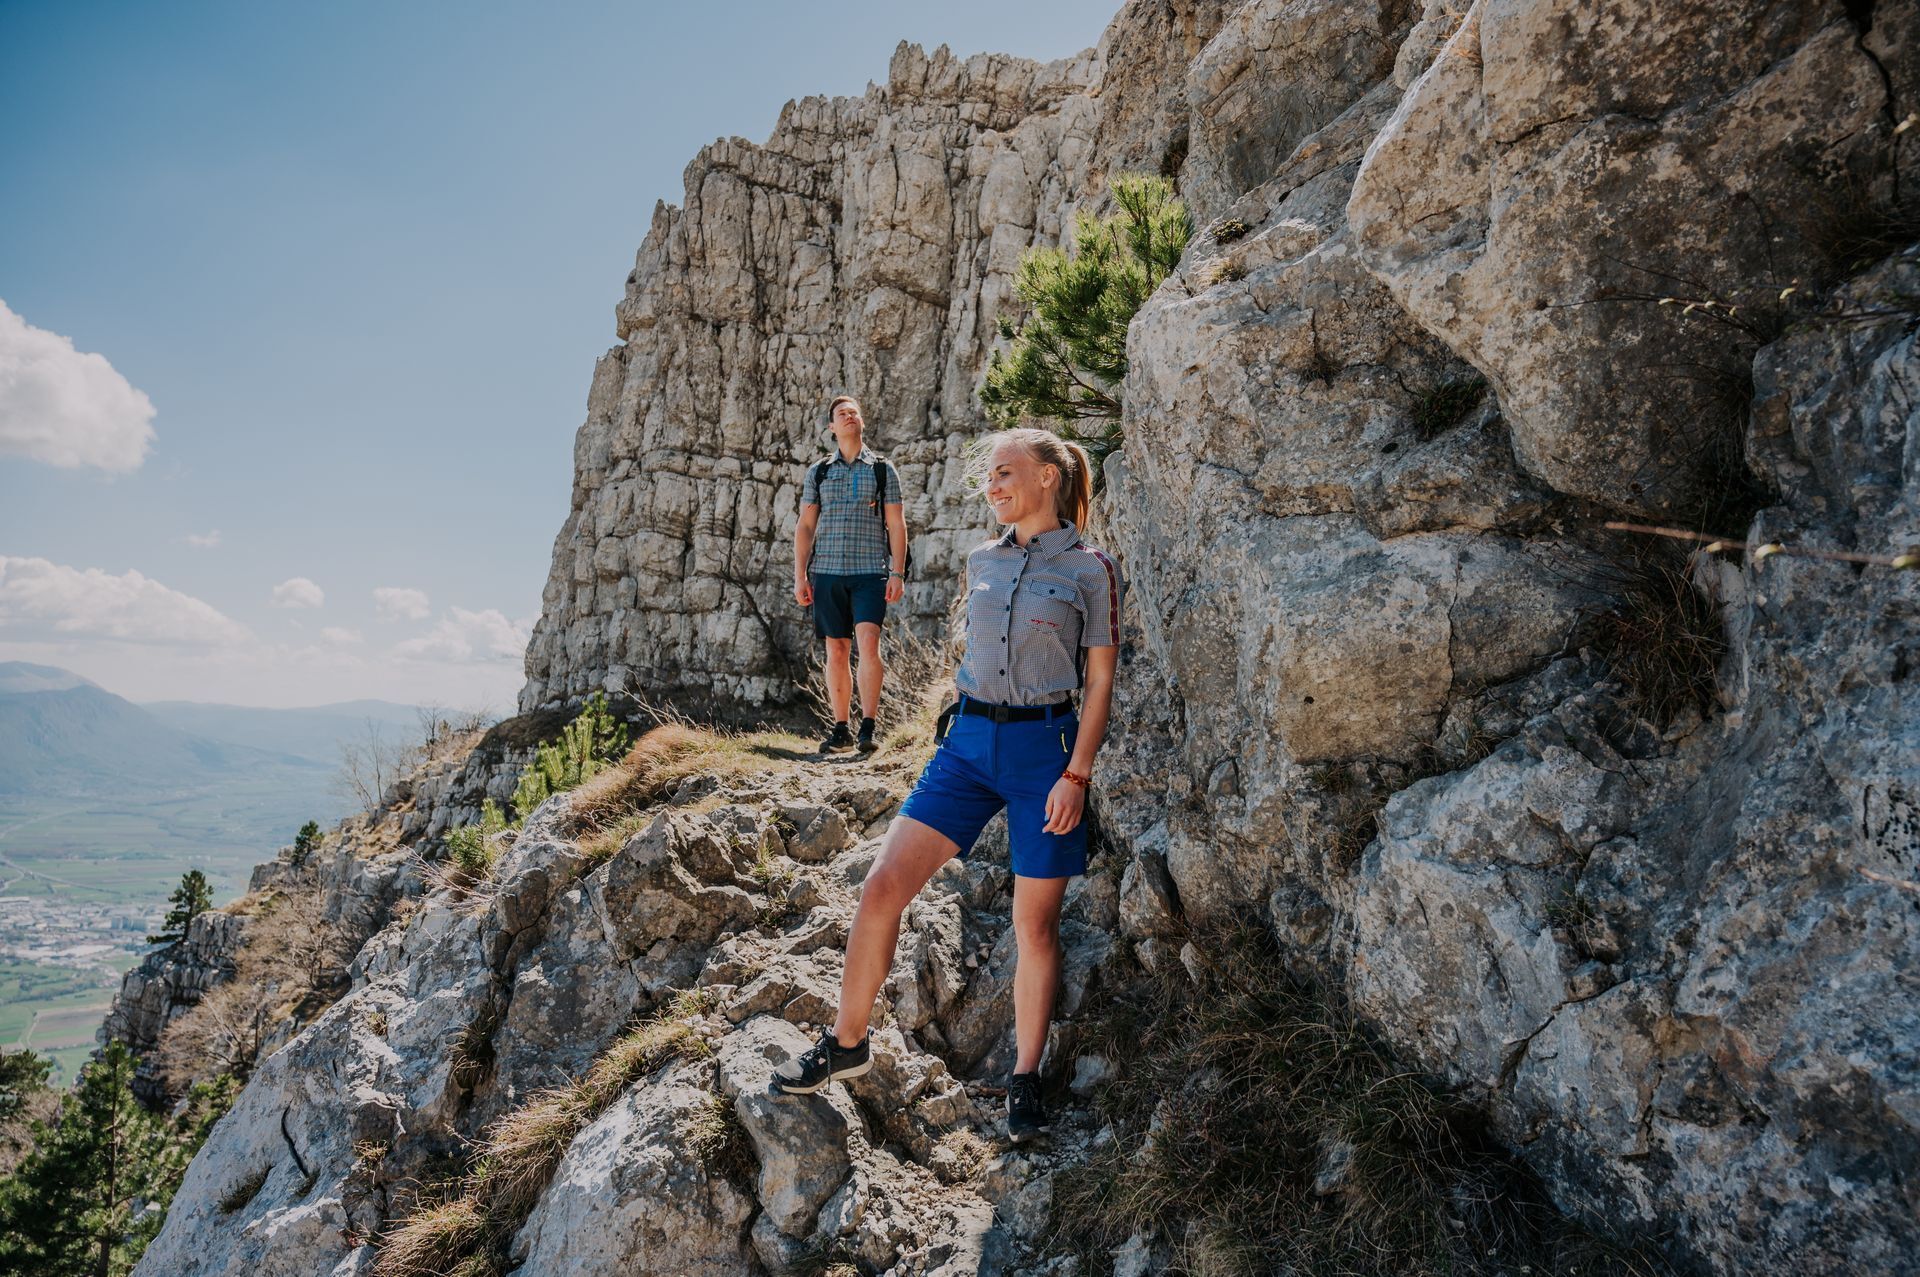
What do I wear for hiking?
Inspiring stories

History of Ancient Mayans

Event recap
Discover the magic of MAYA MAYA at our Landquart event. Explore the ‘Unique and Indigenous’ collection, enjoy cocktails, and workshops.

What to wear for an autumn hike?
Gear up for colder days with our guide on hiking in dry conditions. Learn about layering, baselayer, softshell and pants for optimal comfort.

THE HEAT: Part 3
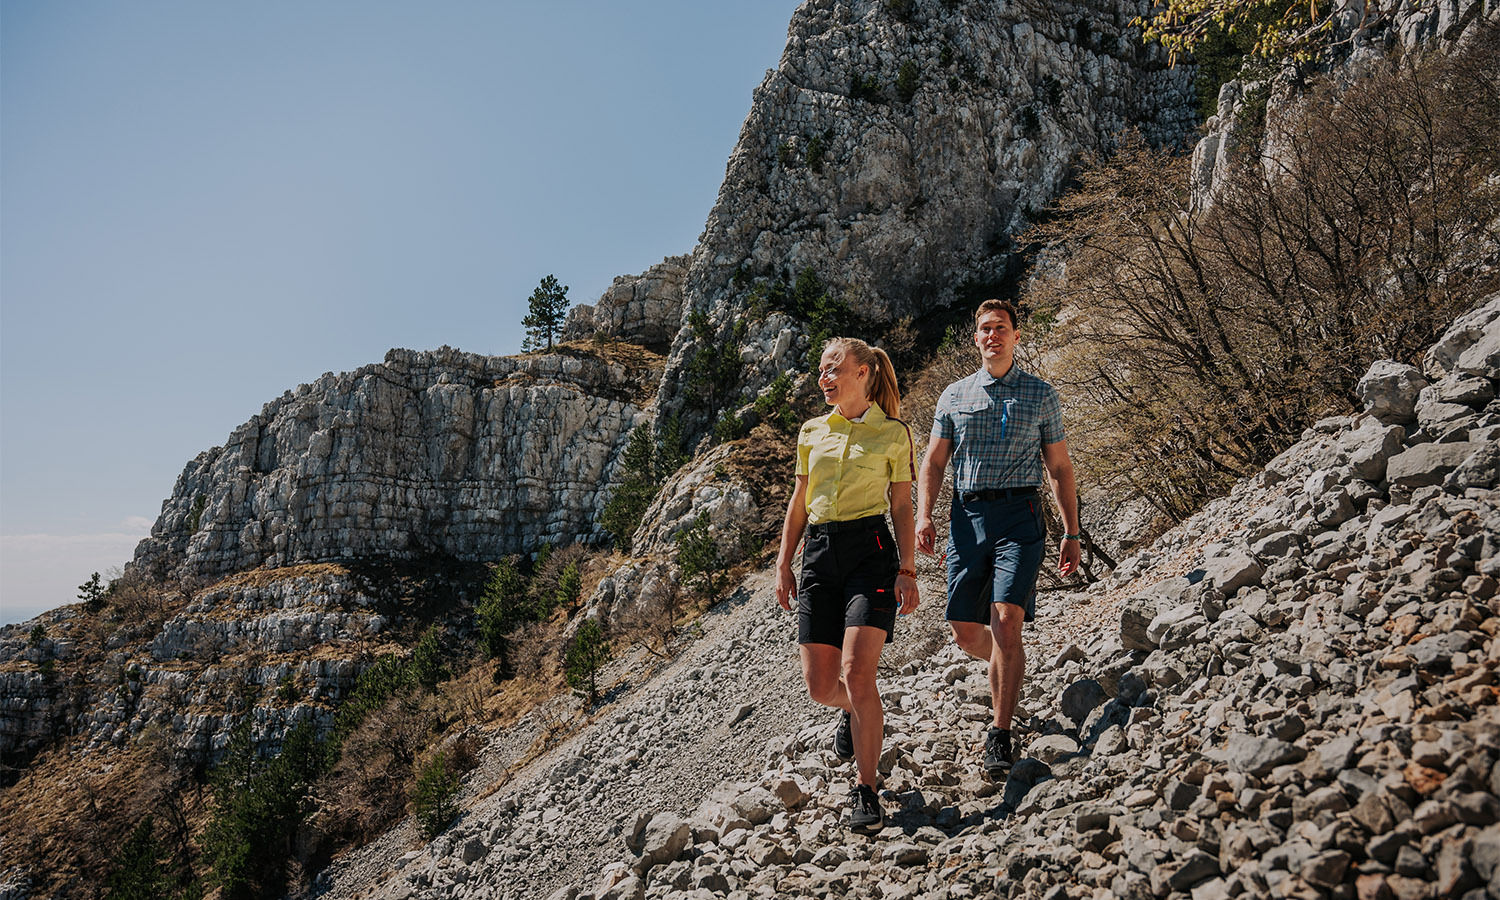
Stay stylish and protected under the summer sun with our perfect outfits for walking, beach outings, active vacations, and mountain hikes.

THE HEAT: Part 2
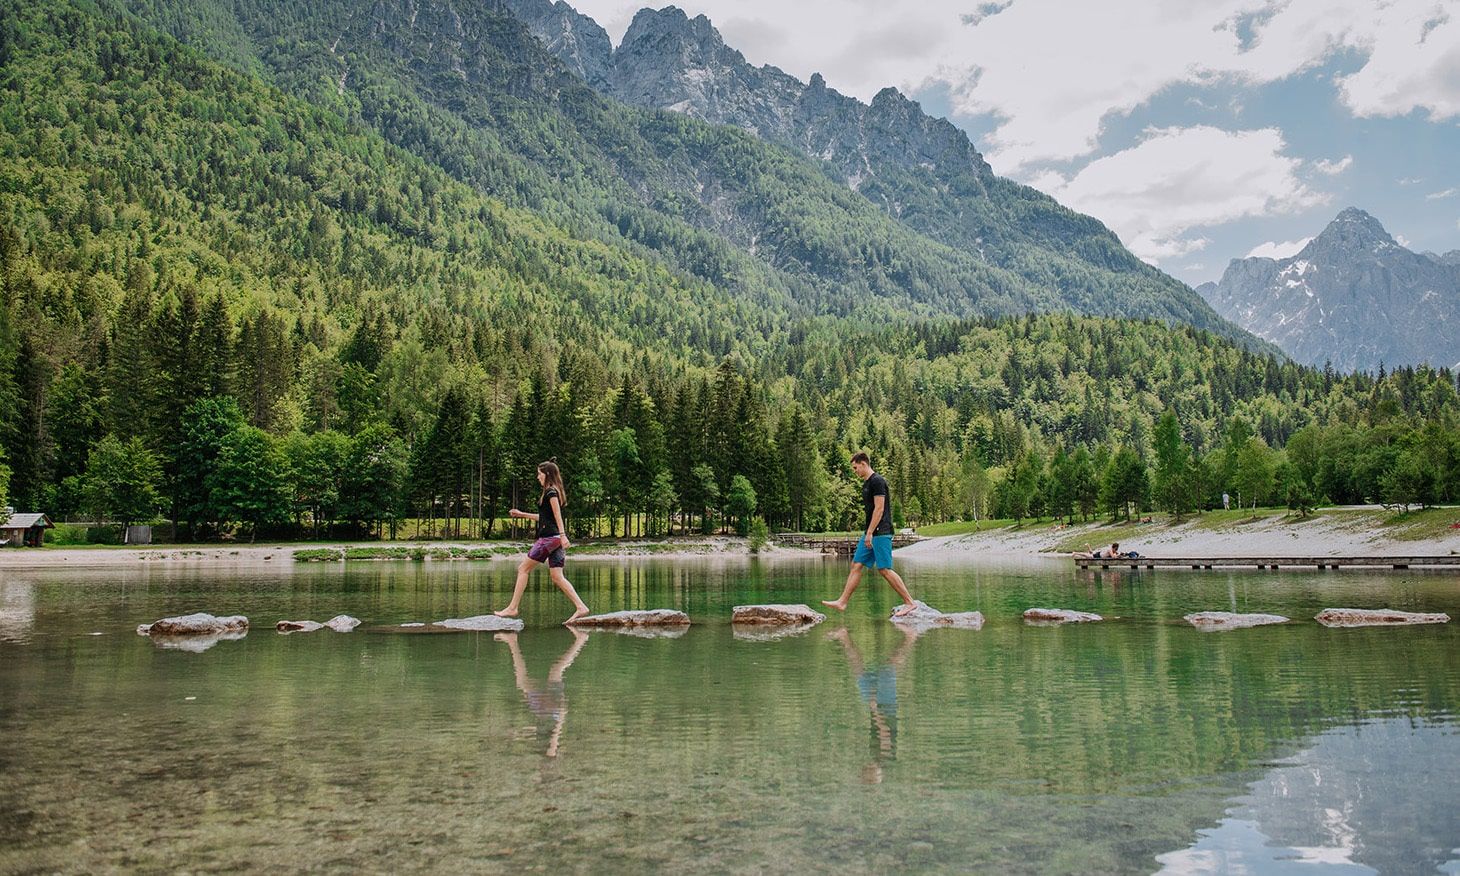
Stay safe in the heat with tips on UV protection, hydration, and clothing. Adapt to summer conditions for outdoor activities, enjoy the sun!

THE HEAT: Part 1
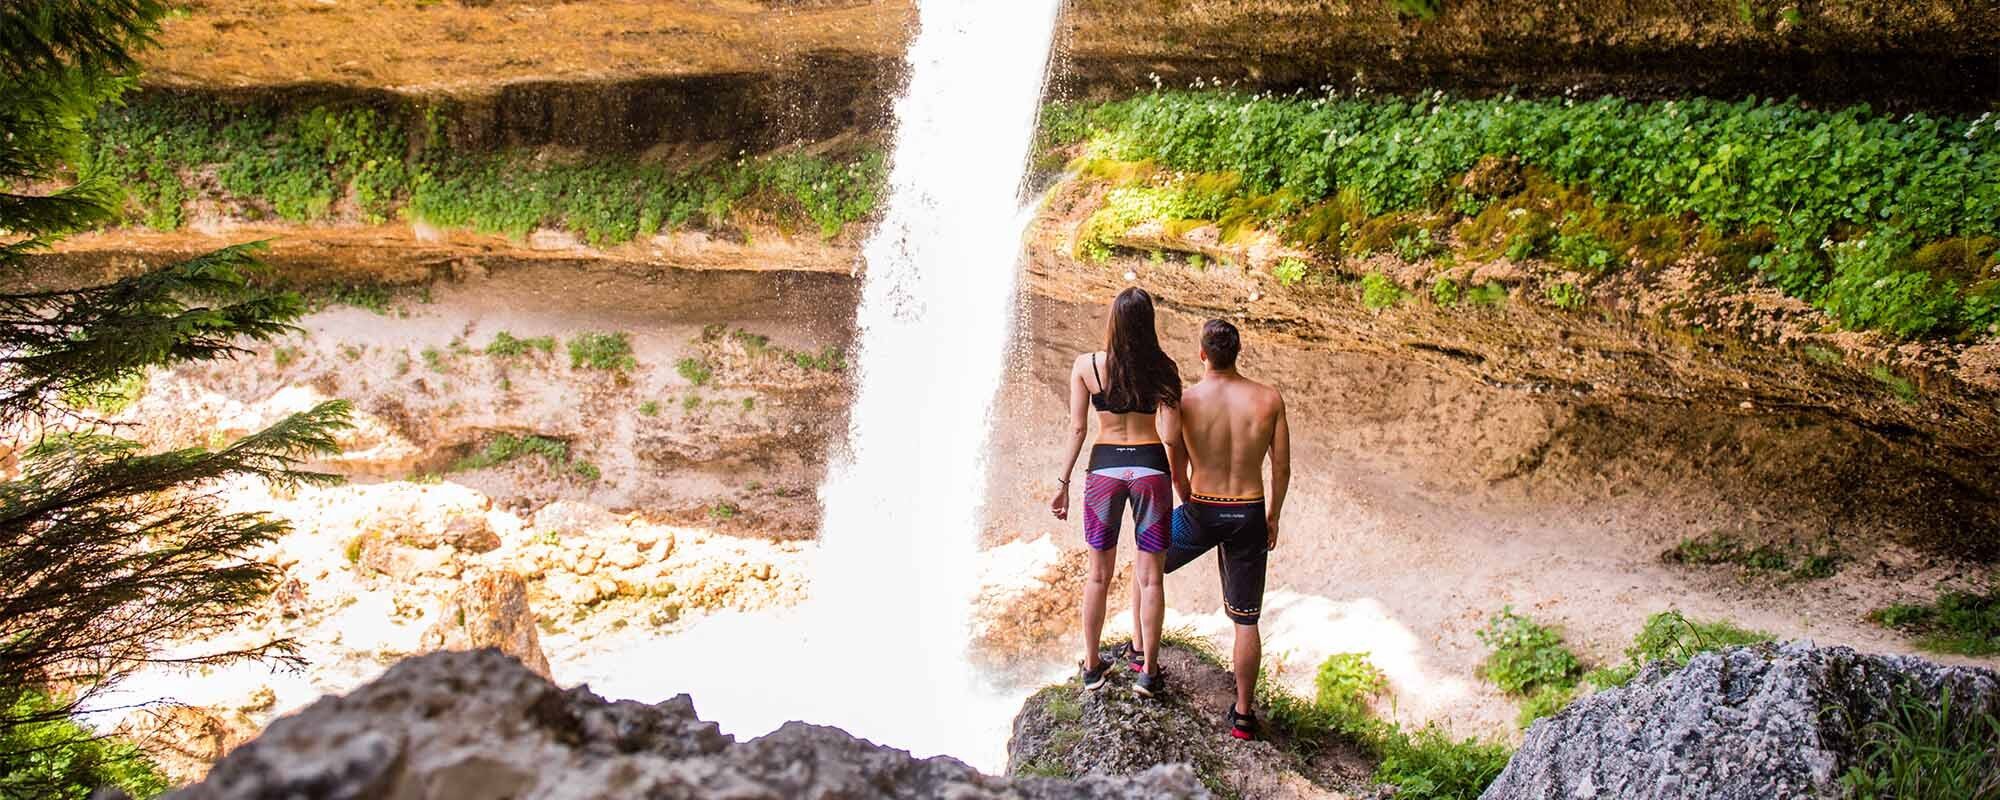
Learn how your body functions in the heat, how to stay safe outdoors, basics of thermal comfort, internal temperature regulation, sweating.

Thermal balance: what it means?
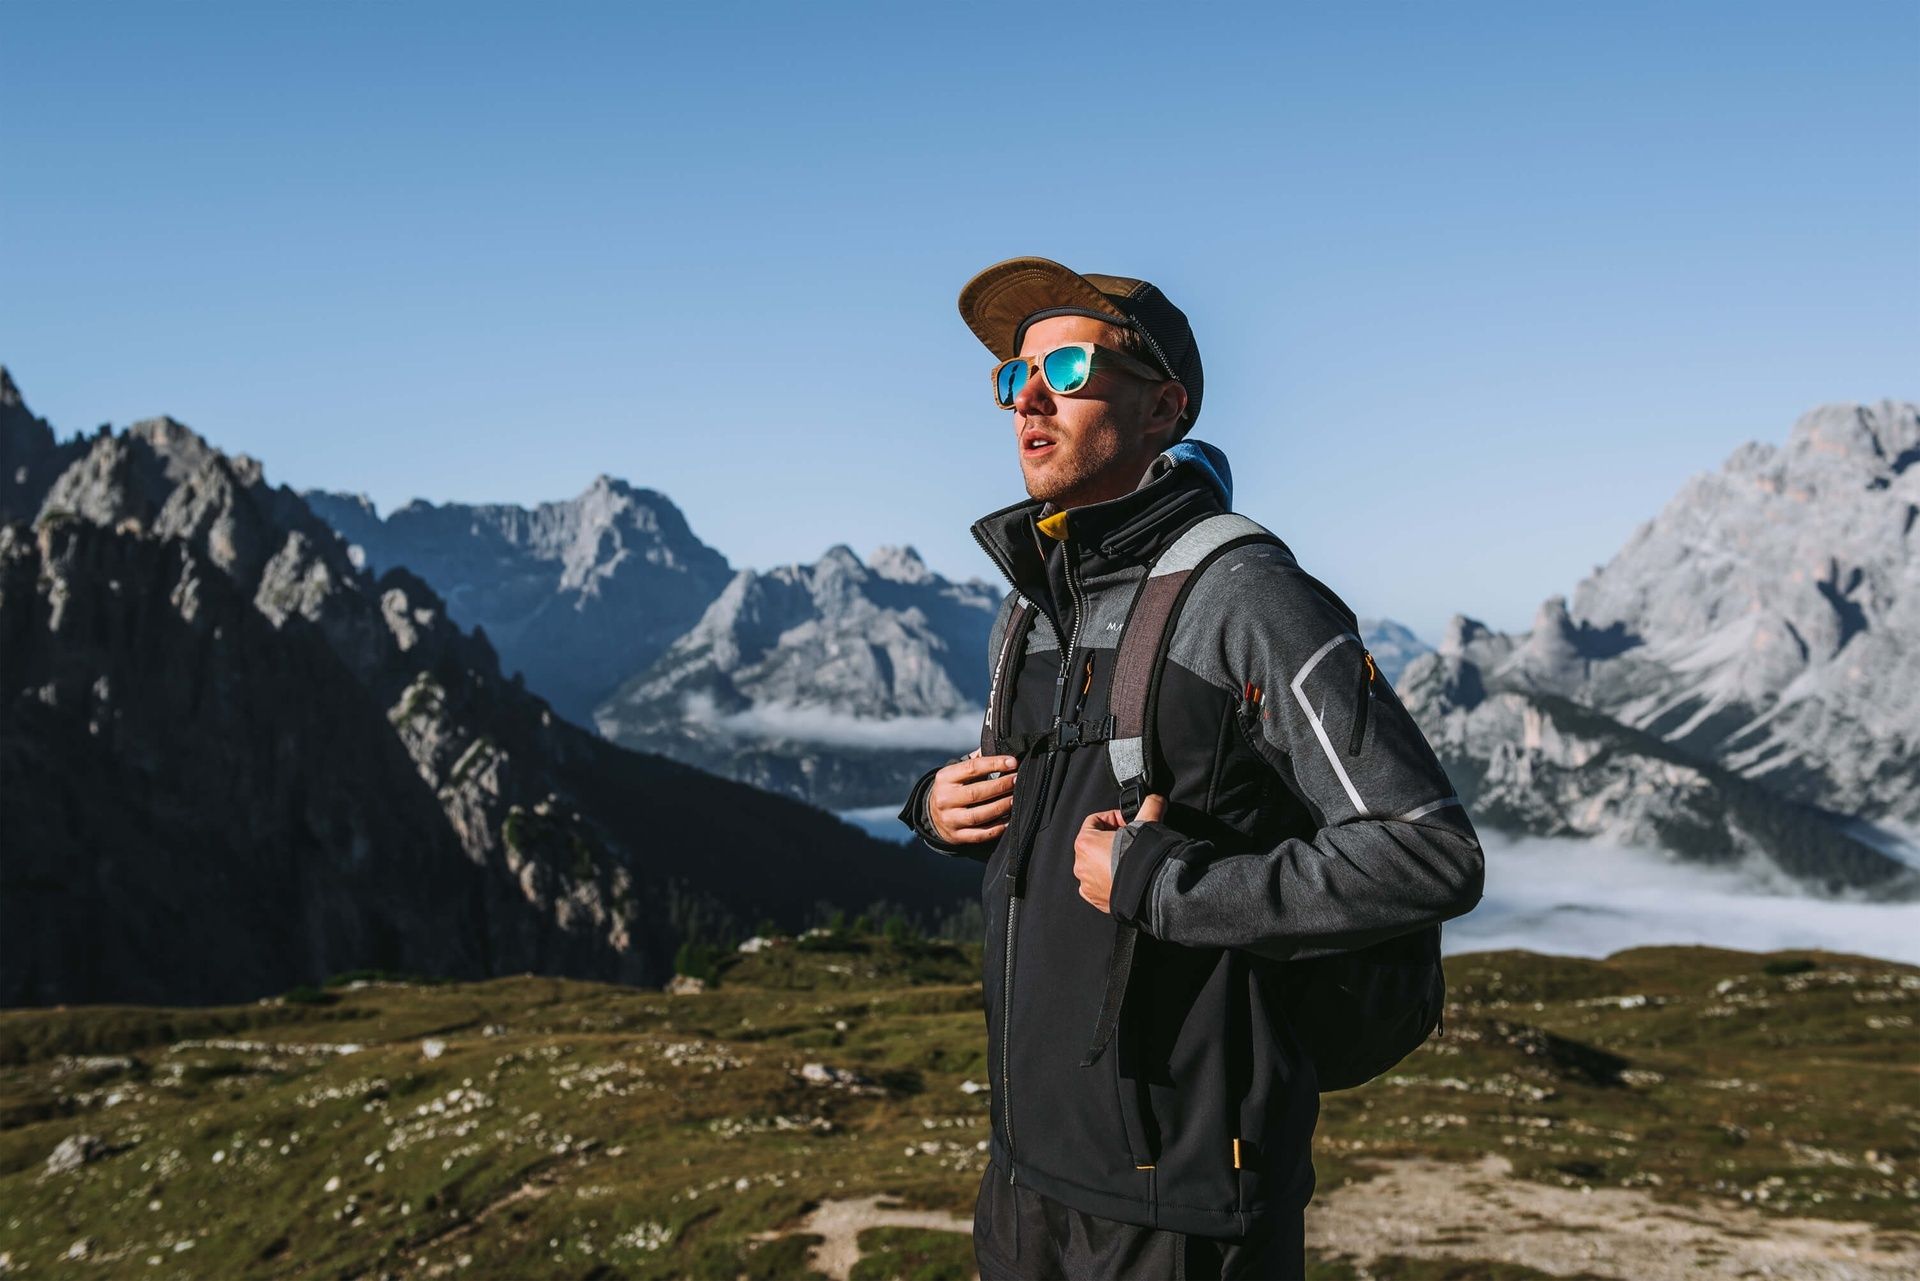
Thermal balance is crucial for our well-being. Understand what it means, how it affects us and learn about heat exchange and metabolism.


